
Setting Up Dash
Getting A Dash ComplyOps Account
To get sign-up for a Dash ComplyOps account, please complete the following signup process. You will be provided with Dash application access after completing the signup process with the Dash team.
Application Setup/Initialization
After signing up for Dash, you will receive an email in your inbox with further information on your application license and creating your first user. (It may take 5 minutes or so to receive this email. If you cannot find this email, you may check your Spam folder.)
In the Dash email, click on the provided Dash application URL to get started.
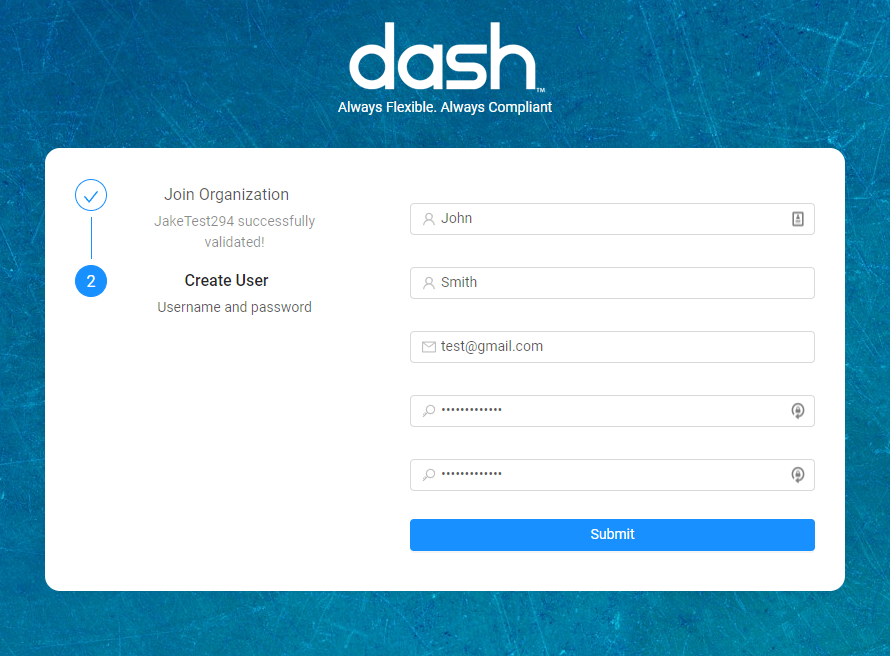
Organization Validation – Put in the Organization ID and License Code to validate your organization
Create New User – Put in an appropriate email and password for the first user
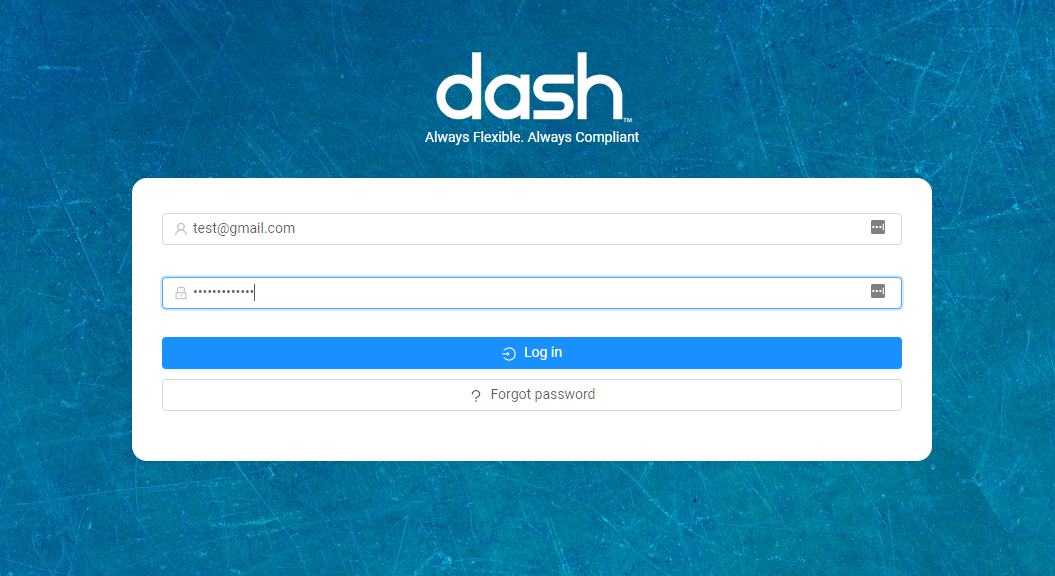
Login to Dash - At this point, you can login using the new user account you have created
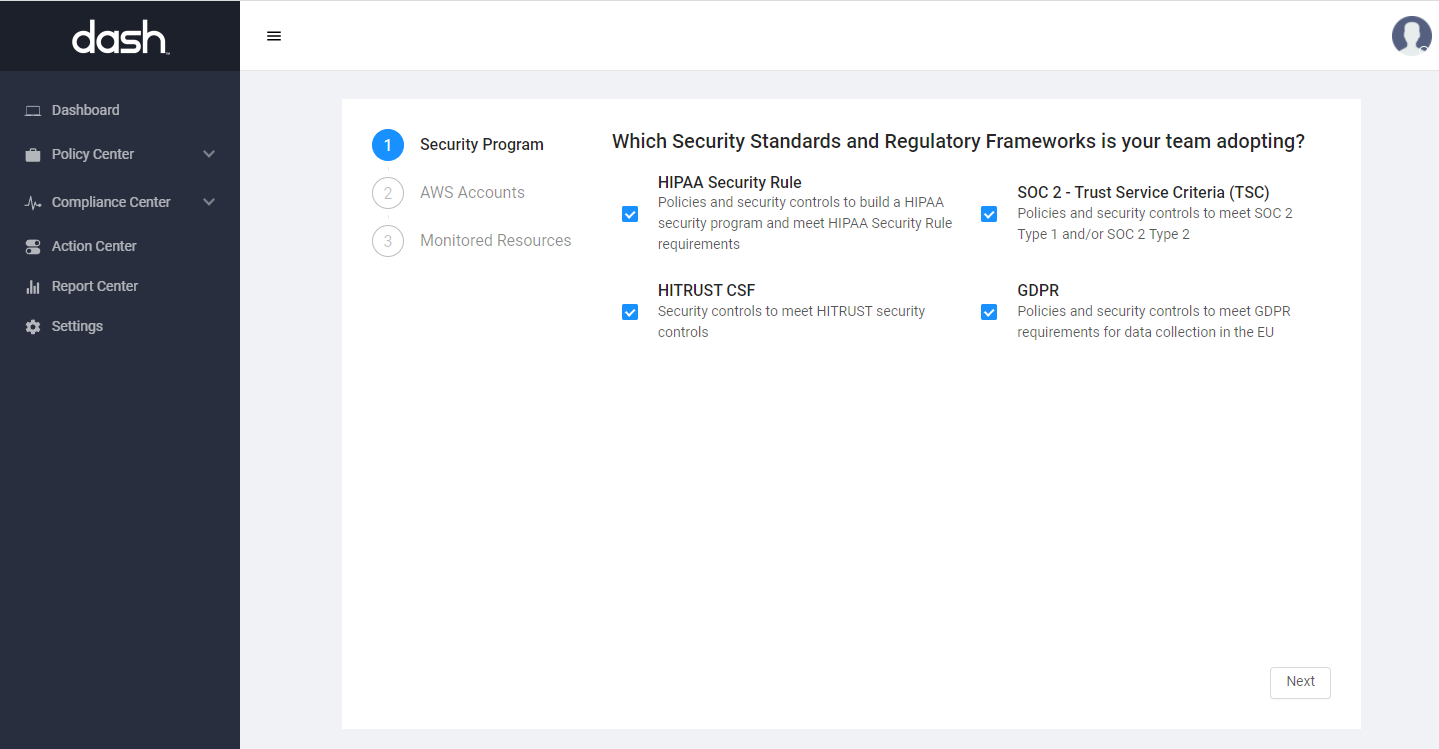
Select Your Applicable Regulatory Frameworks - Select the regulatory compliance standards applicable to your organization and then click “Next”. (This option can be changed later in the application settings)
Connect AWS Accounts - You will be taken to the AWS account setup page. It is important to connect your AWS accounts otherwise Dash will not monitor your cloud accounts for security and compliance issues. You can connect accounts during the Setup Wizard or in the Settings > Monitoring Settings later.
You will see the following page:

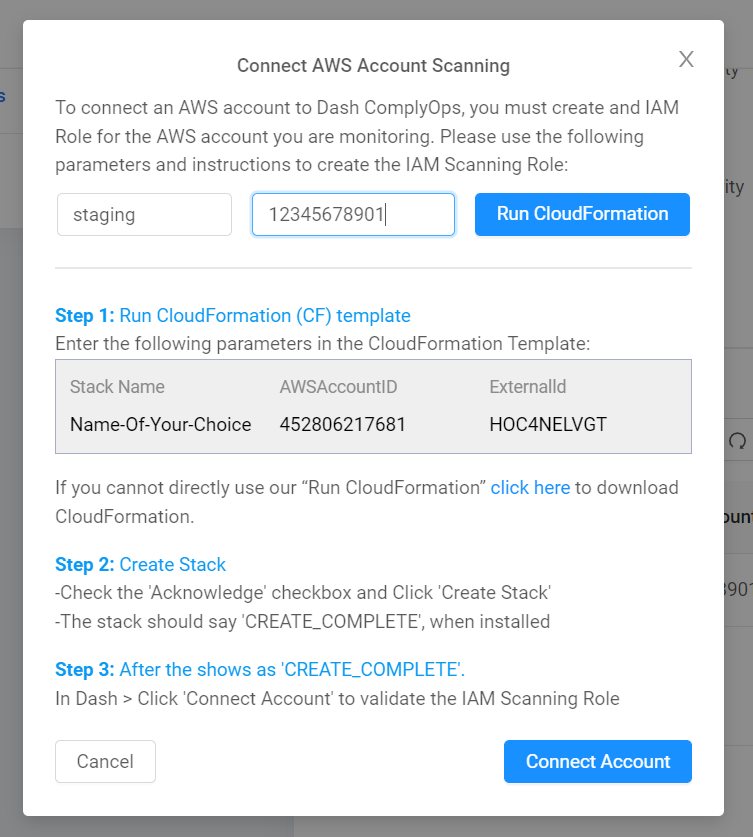
Click the ‘Connect AWS Account’ button under AWS Accounts section. You will need to enter the following:
AWS Account Name - A name defined by your team to identify the account you are connecting to monitoring (this can be a name of your choice)
AWS Account ID - Enter the AWS Account ID for the AWS account you want to connect to Dash monitoring. You can find this by logging into the account and clicking on the top right user dropdown.
You can find the AWS Account ID for your account by logging into the account and clicking on the top right user dropdown.

Once you have entered the AWS Account Name and AWS Account ID, click “Setup” button
You will be taken to AWS where you will need to login and grant Dash permission to scan this environment. In the new browser tab that just opened, please enter the password for the selected account.
After logging it, you will be redirected to the CloudFormation setup page. It has already preloaded with the correct CloudFormation template, using an S3 URL
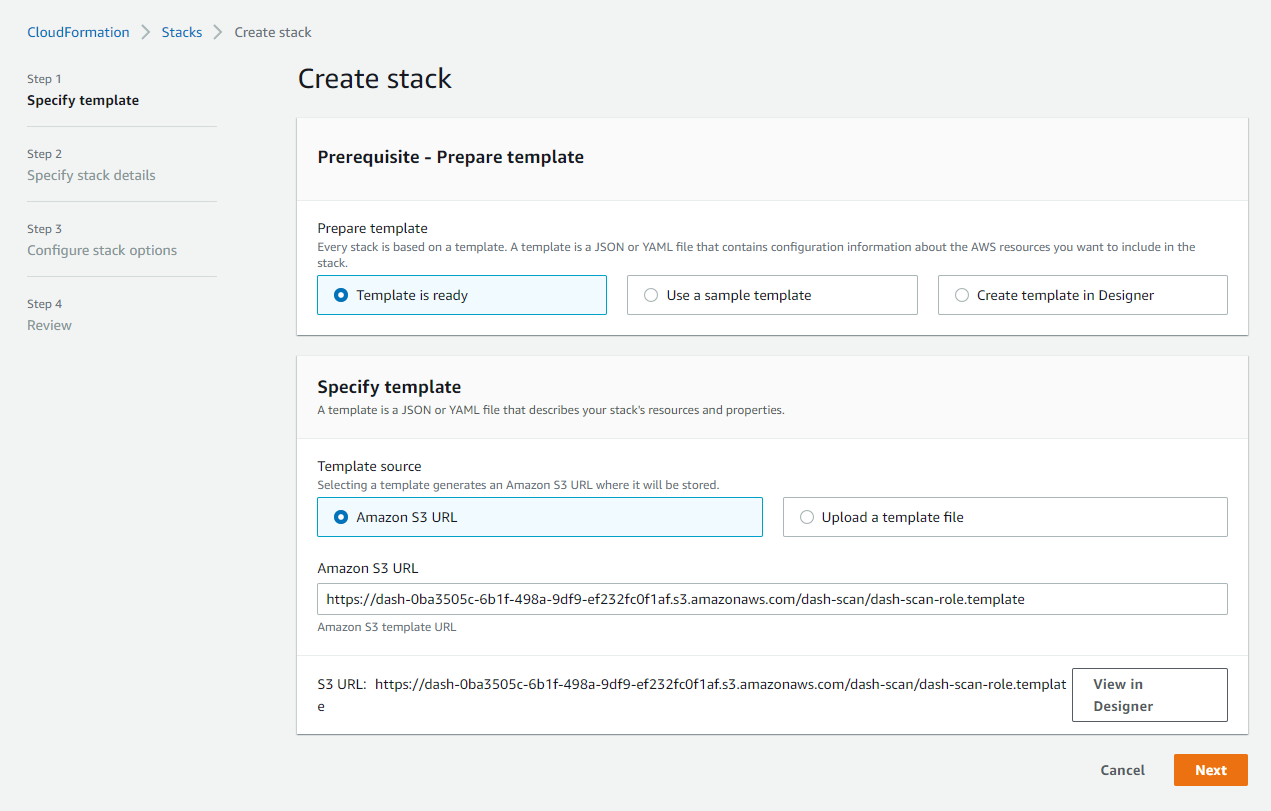
Click the ‘Next‘ button.
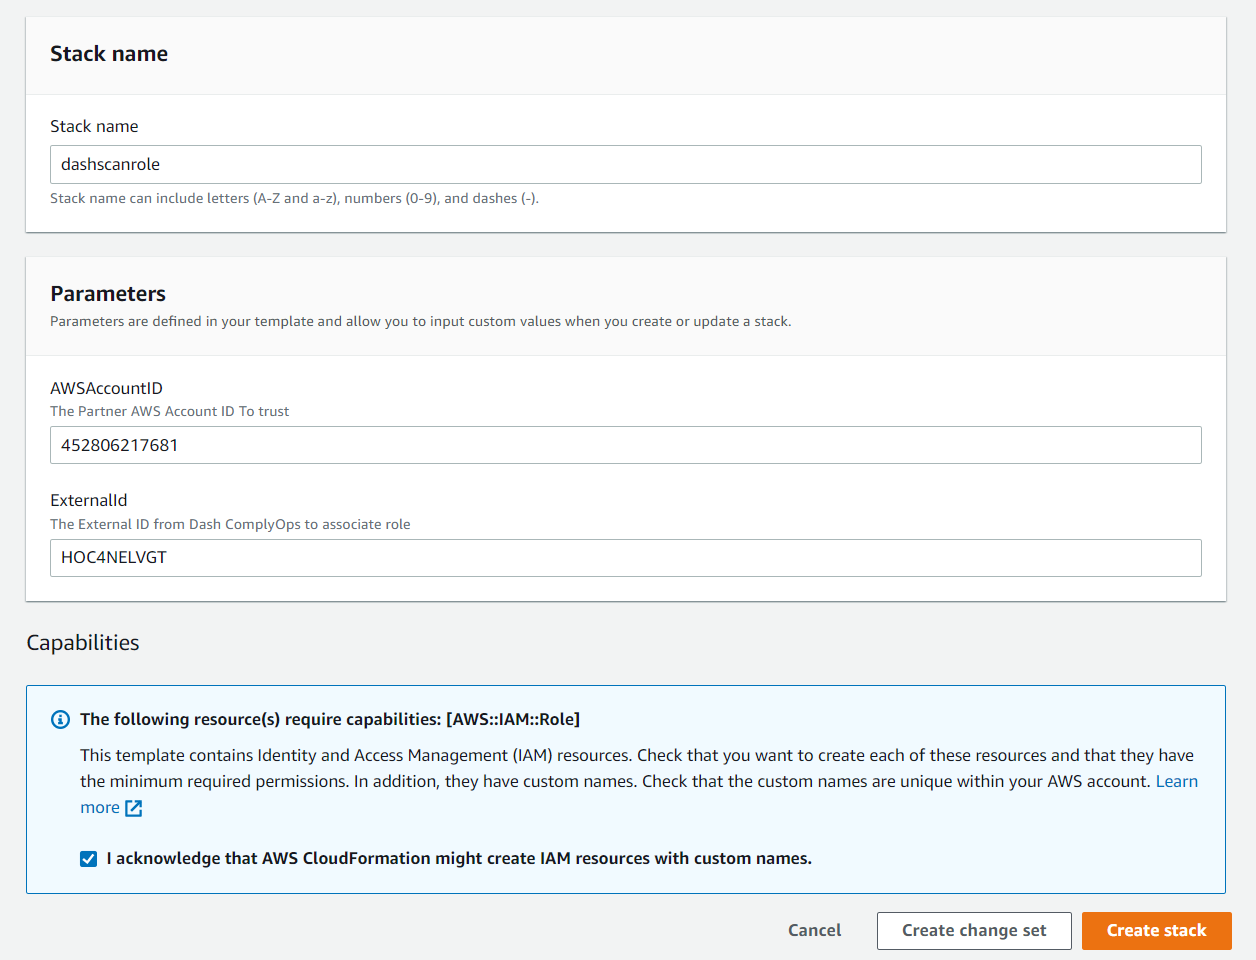
On the subsequent page, you will see the following parameters
The AWSAccountID and ExternalID should match the parameters displayed in the Dash application.
These parameters should be pre-filled and there is nothing to change on this screen.
Stack Name = dashscanrole
AWSAccountID = 452806217681
ExternalID = The External ID from the Dash Modal
On this page, you must select the checkbox - “I acknowledge that AWS CloudFormation might create IAM resources with custom names“
Now click “Create Stack“
It may take a few minutes to create this IAM role and then CloudFormation will show CREATE_COMPLETE for the IAM role
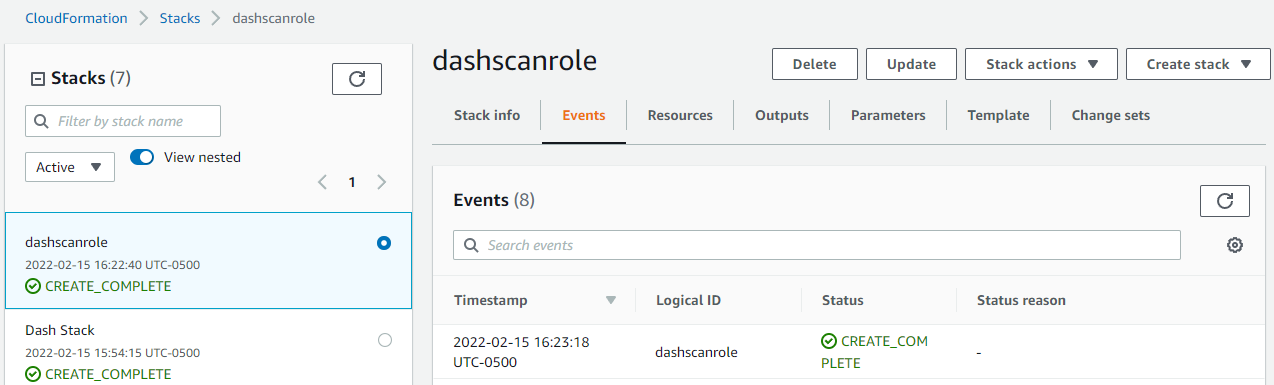
Now you can navigate back to the Dash Settings Page. Click the “Connect Account” button.
The Dash application should recognize that you have connected the new AWS account to monitoring.

The Dash application should connect the new permission and show the AWS account as connected to monitoring (like the image shown below)
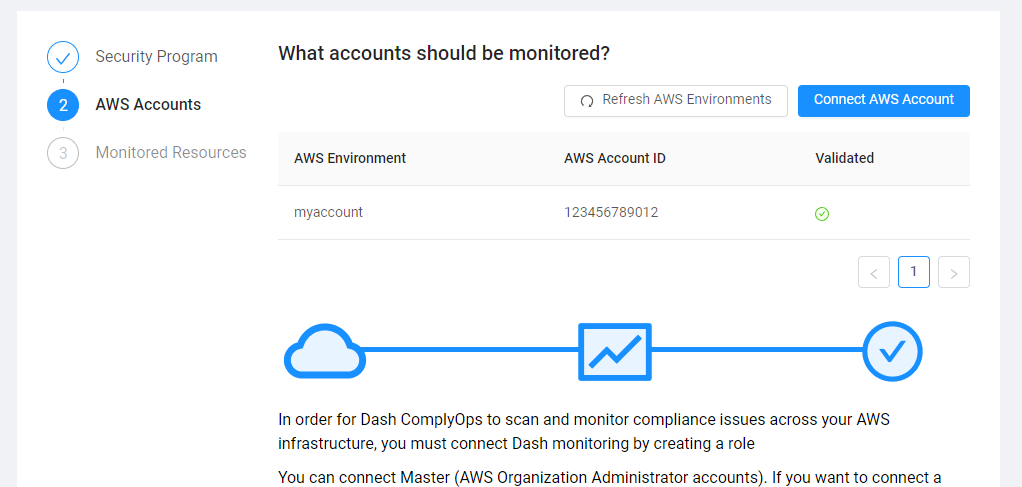
You can connect more than one AWS account to Dash by following the same process as above. Once you have attached your accounts, you can click the “Next” button. (You can attach additional AWS accounts in the settings later).
You will be shown a page where you can blacklist or hide specific Dash findings for accounts. You can enter any options or leave the options blank and click “Finish”. (These options are available in the settings later).
After clicking “Finish” you are ready to use the Dash application. If you have connected one or more AWS accounts, these accounts will be going through their first scan now.